
 When I was teaching, the light box was one of the kid’s favorite tools. It was, essentially, a flat white surface with a lightbulb under it that glowed through. When you put objects on top you could manipulate and mix colors and shadows and it inspired them to use familiar toys in new ways. After the shadow fun we had the other day, I thought this would be a fun tool to add to the mix.
Of course like any awesome tool, it has a steep price tag, and purchasing a light box will run you around $200. That is where Pinterest comes in. I took inspiration from a few different images and put together this $20 version. It is not as big, but it works well for our purposes!
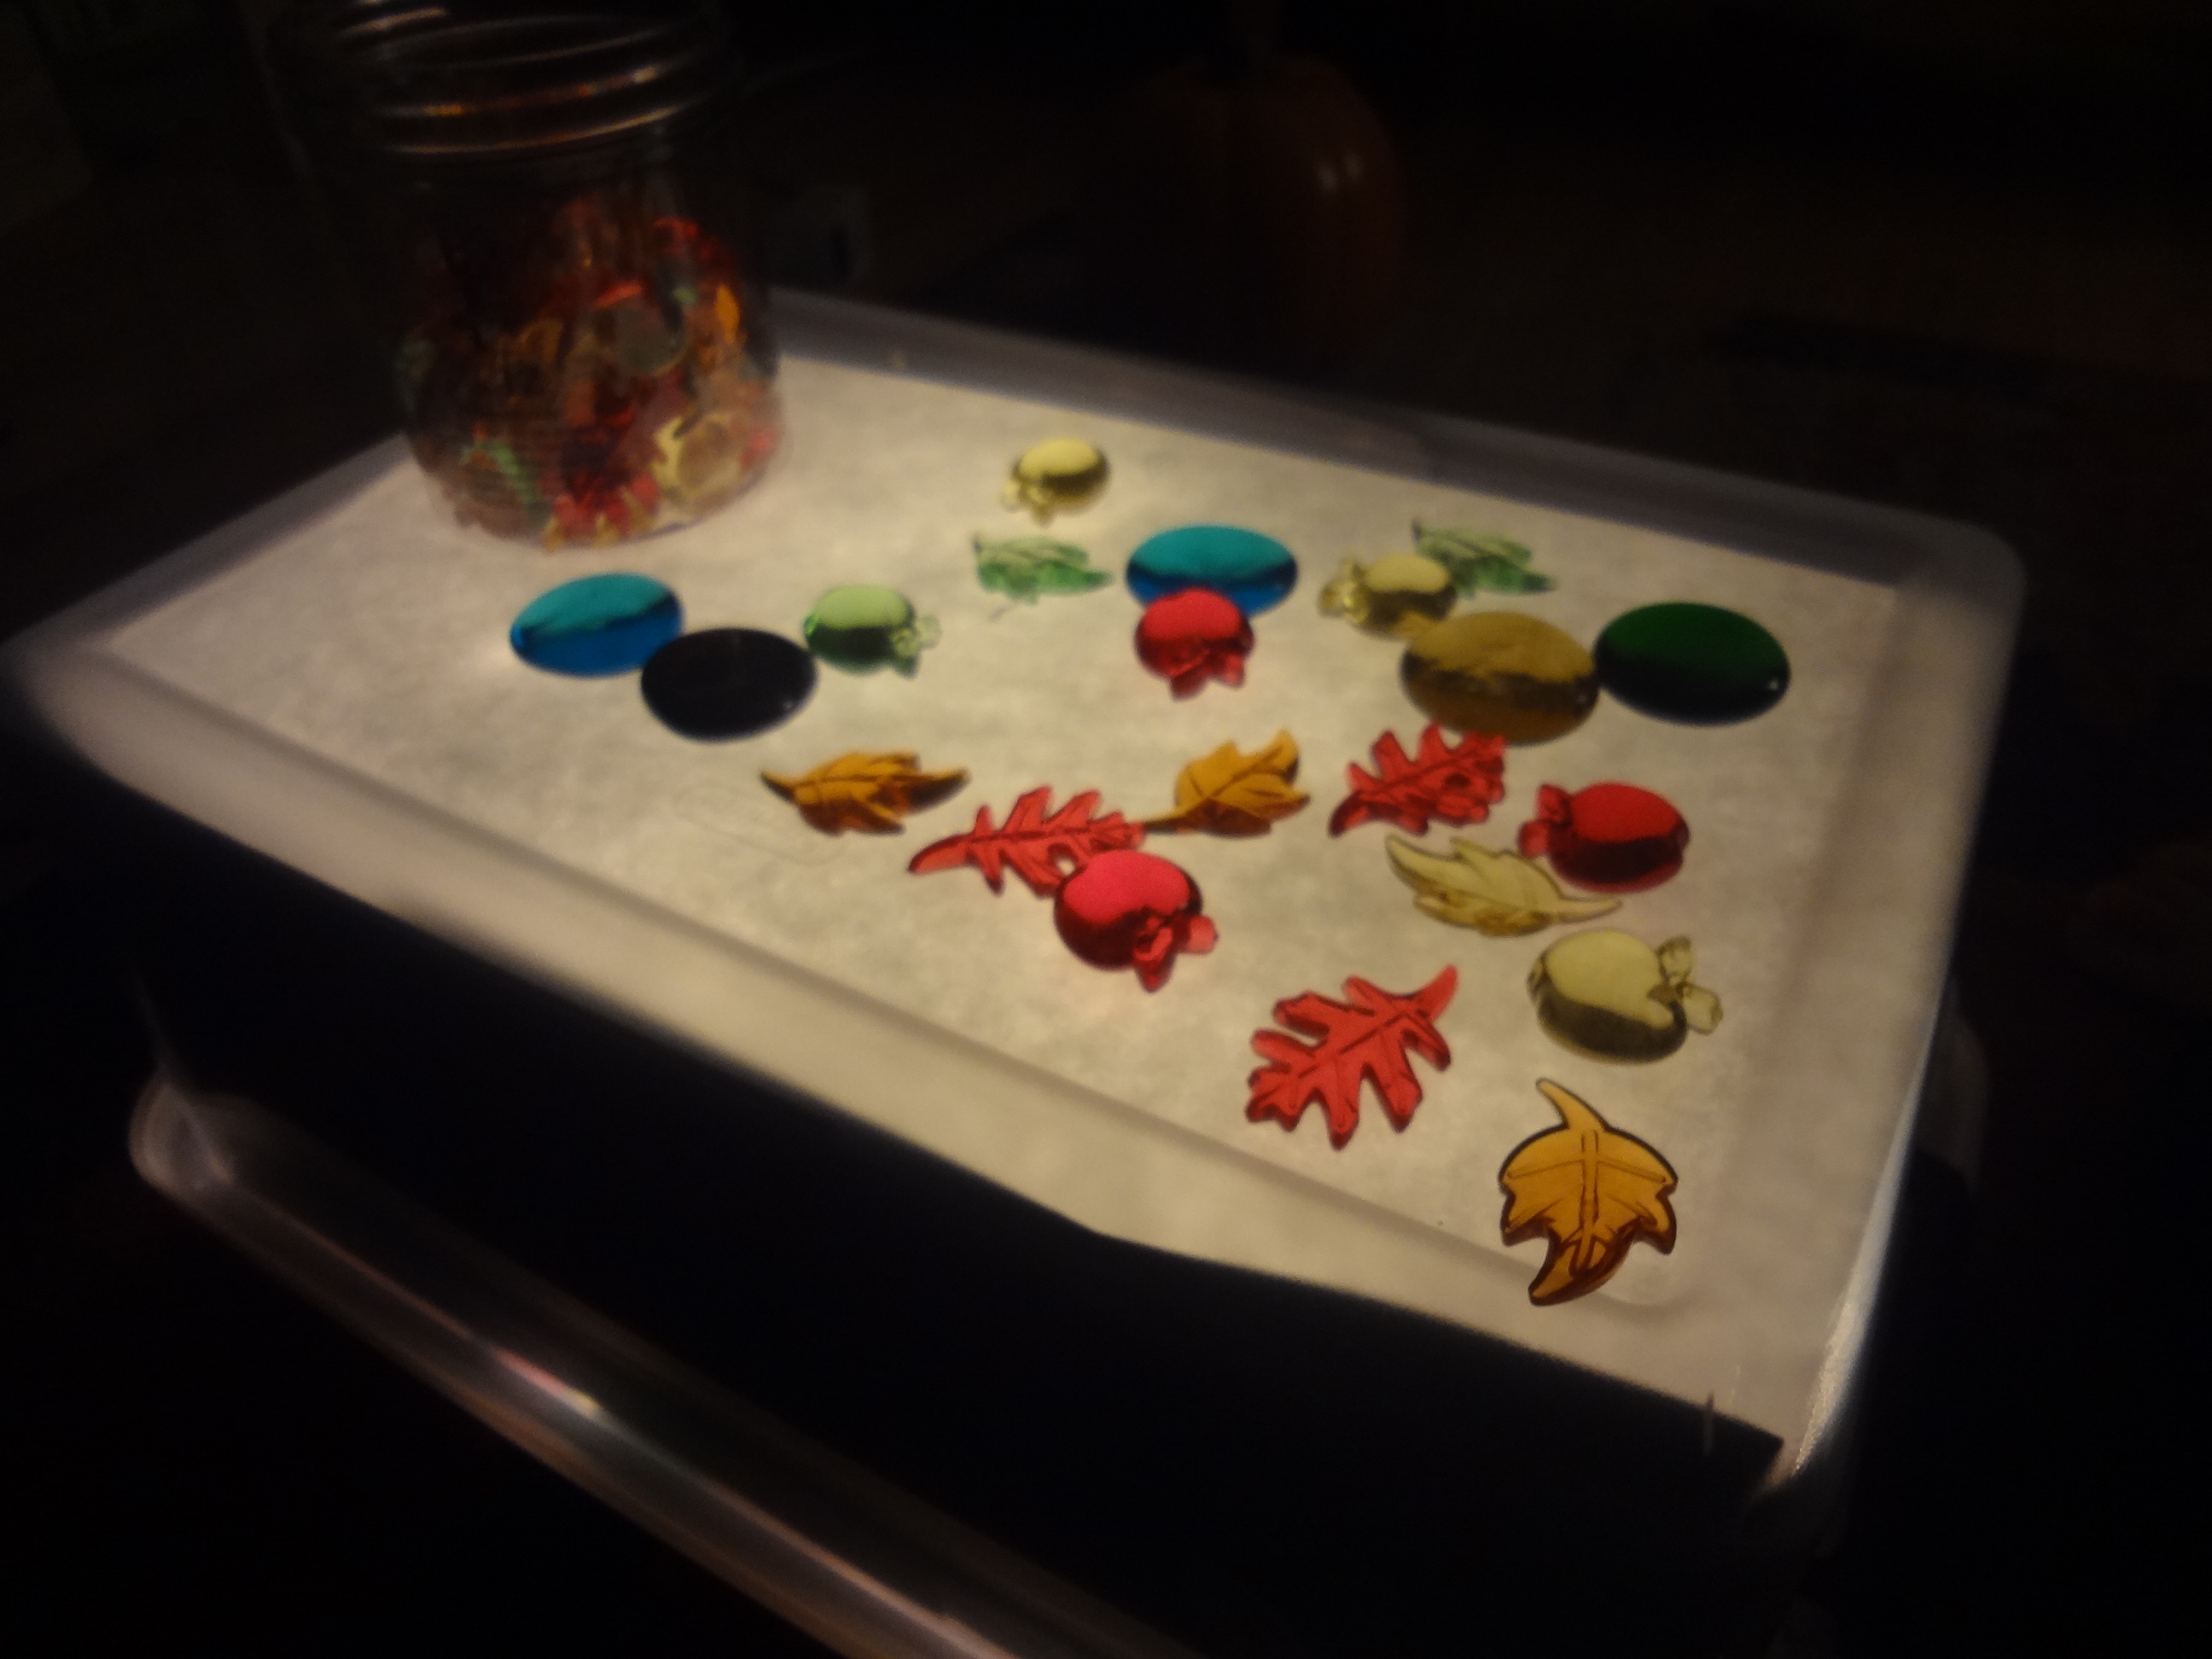
You can use almost anything with these tables. If you have blocks that are translucent they work great. I picked up some large mosaic stones and “seasonal tabletop decorations” from our local craft store (pictured below) that have been fun to use. Artist can also use it for tracing and scientists for exploring the inside of objects. You are only limited by your creativity!
So, on to the specifics!
You will need:
* 1 translucent tub and top (size of your choice, we went with 15qt)
* 2 strands of Christmas lights (make SURE you have “cool touch” ones)
* Dark paper (I used black construction paper)
* Light paper (tracing paper is best, even computer paper is a little too thick)
* Clear tape
Steps:
IMPORTANT NOTES: Obviously any time you are using wires around kids, you need to be careful. This tool should be used with an adult nearby. Also, keep an eye on the heat level from the lights. With ours, it doesn’t get dangerously hot in the box but I wouldn’t leave it running for hours.
1. Line the bottom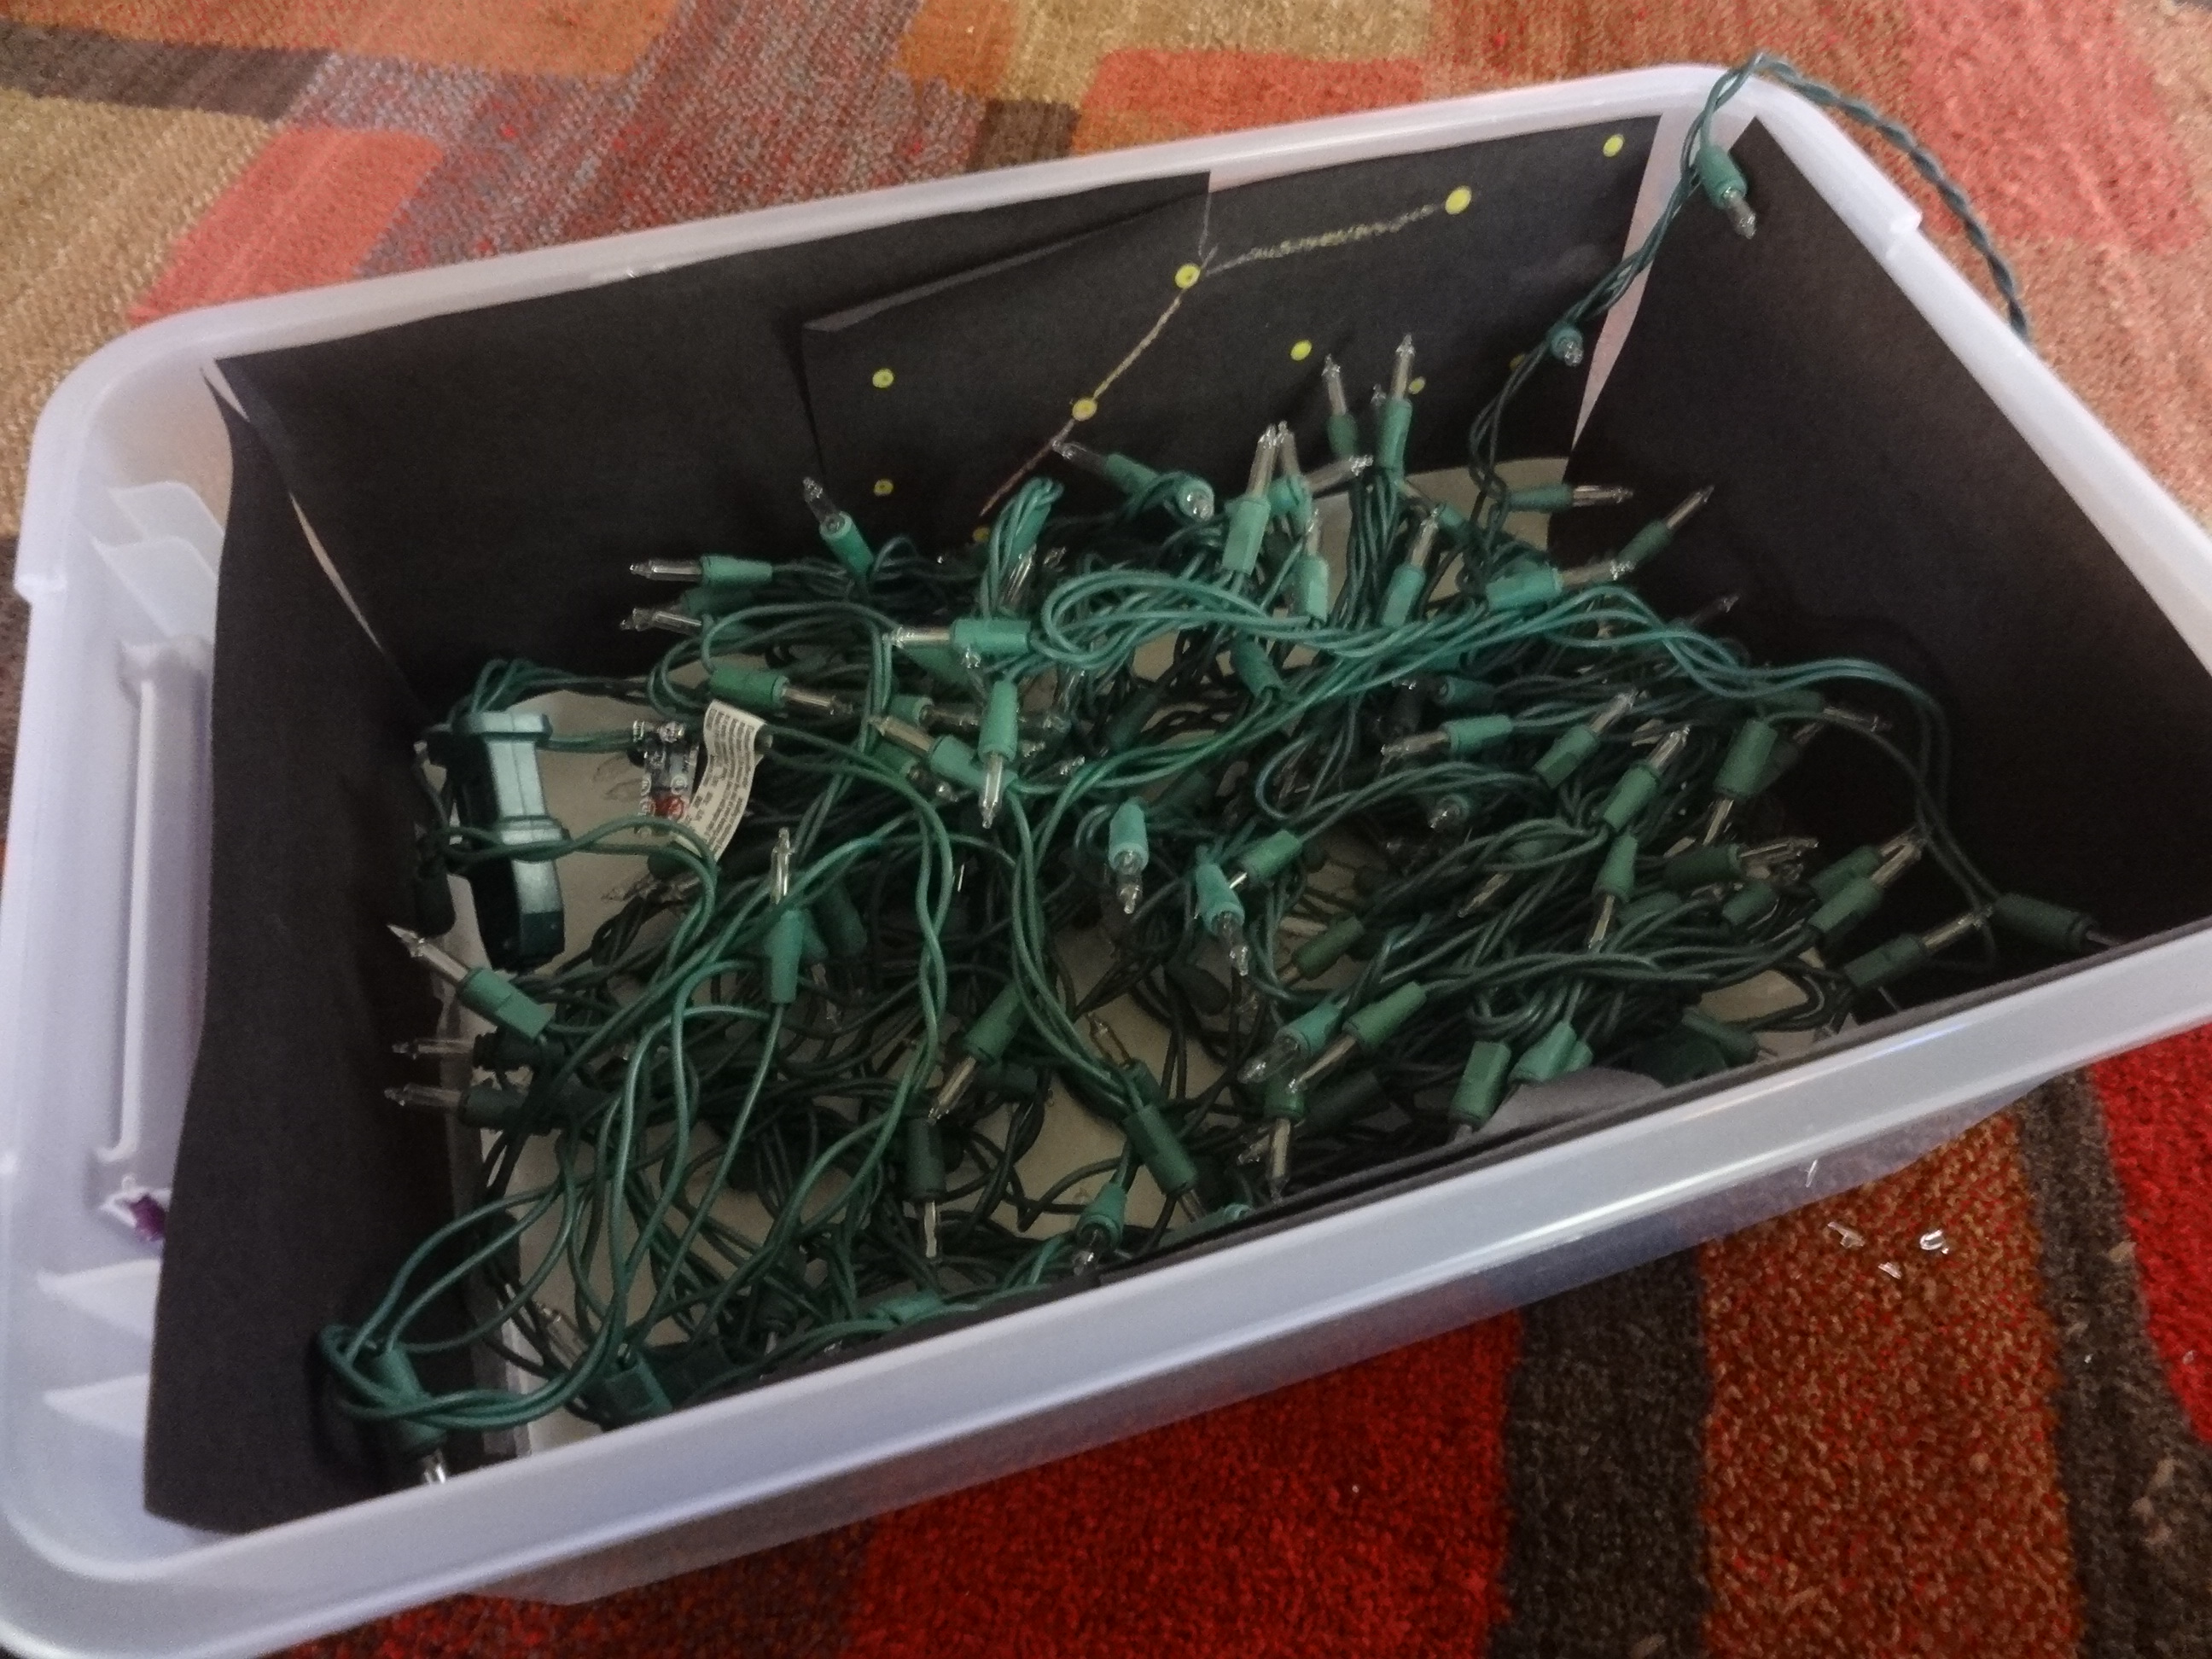 of the tub with tracing paper. This will help disperse the light more evenly. Cover the sides of the tub and the inside of the lid with dark paper
2. Nest your Christmas lights into the box. With the lid I have, I could run the cord out with the top clamped on. If that isn’t possible you could get battery operated lights or (if you are ambitious) drill a small hole in the box
 3. Put the lid on and flip your box over! I used the bottom because it was flatter then the top and putting the wider top on bottom gave it more stability.
4. Test out the lights. Depending on the size of your box you may need to add another string or manipulate the lights to be closer or farther away from the tracing paper.
That’s it! You can add objects, change the lights and use it for anything you can come up with. Enjoy!


I love this. I will have to try this for my daughter. Thanks for the share.
I’m glad you like it! Let me know how it works out.